
Today most of the virtual reconstruction infographics and historical illustrations are created using 3D design software for either simple sketches, upon which detailed 2D paintings are carried out, or for complex 3D renders, animations and further use in virtual media. As my interest in 3D virtual reconstructions grew in the last year with the ongoing Kula Project (that has yet to be properly presented) I started reading and documenting a lot on this topic. Luckily enough I stumbled upon an online course that would help me a lot in this matter, and much more.
Course presentation
Starting with July 2022, for a month and a half, I attended an online course on using Blender for 3D Virtual Reconstruction of Heritage (2022 Edition). The course was designed and held by Pablo Aparicio Resco within Koré Formación heritage educational platform. I was following Pablo’s work (PAR Arqueologie y Patrimonio Virtual) for a long time now, both on Instagram and LinkedIn. His style and attention for detail made me dream of someday being able to getting close to that level of proficiency. When I saw the announcement for this course (apparently it was not the first one on the subject!) I was thrilled. The presentation image for the final product of the course was too good to be true!

But there was a catch: the course was in Spanish. And I know nada in Spanish. I contacted Pablo on LinkedIn and he kindly suggested to try the course by using the auto translate feature of Youtube. The whole course was in video format split in 8 units each with dozen of videos. I used the auto-translation features of Youtube and it worked perfectly. I have also used Google Chrome for its page translation feature for the Forum and any other text information on the platform and so I was able to follow and understand everything, even participate in forum discussions.
Was it hard? From this point of view, of language differences, yes. Instead of just listening and working at the same time on the instructions, I had to always read the subtitles, pause, and then execute. It slowed the whole process. At times things went so fast I couldn’t keep up with pausing every second. Yeah, there were just a few times when it seemed a process too difficult. All these after a 8 hour work day when you are already tired :). After a several videos I could swear I could understand Spanish. Not quite everything, but actually I learned a lot of words, mostly technical and Blender related. By the time the live sessions started (which couldn’t be translated by Youtube) I could follow the talks. But in the end it was beyond well worth it.
Course summary
The course was built on using the current Blender version 3.x (we worked with 3.2). This is important because Blender is updating quite fast each year. And each version brings important improvements to the workflow so the fact that we were taught with the current version and with its new features (like the Asset Library which was introduced with 3.0 version) meant a lot.
It covers basically every process from start to end, in a virtual reconstruction project: the documentation part, architectural 3d modeling (based on sections and blueprints), object modeling, creating asset libraries (materials and objects), modeling of a landscape, texturing, rendering and creating meaningful infographics. All these main basic processes were clearly explained. There were some very important aspects that I loved like:
- how to design the texture for a realistic opus sectile (with different marble types and properties) using Blender and Adobe Substance Painter,
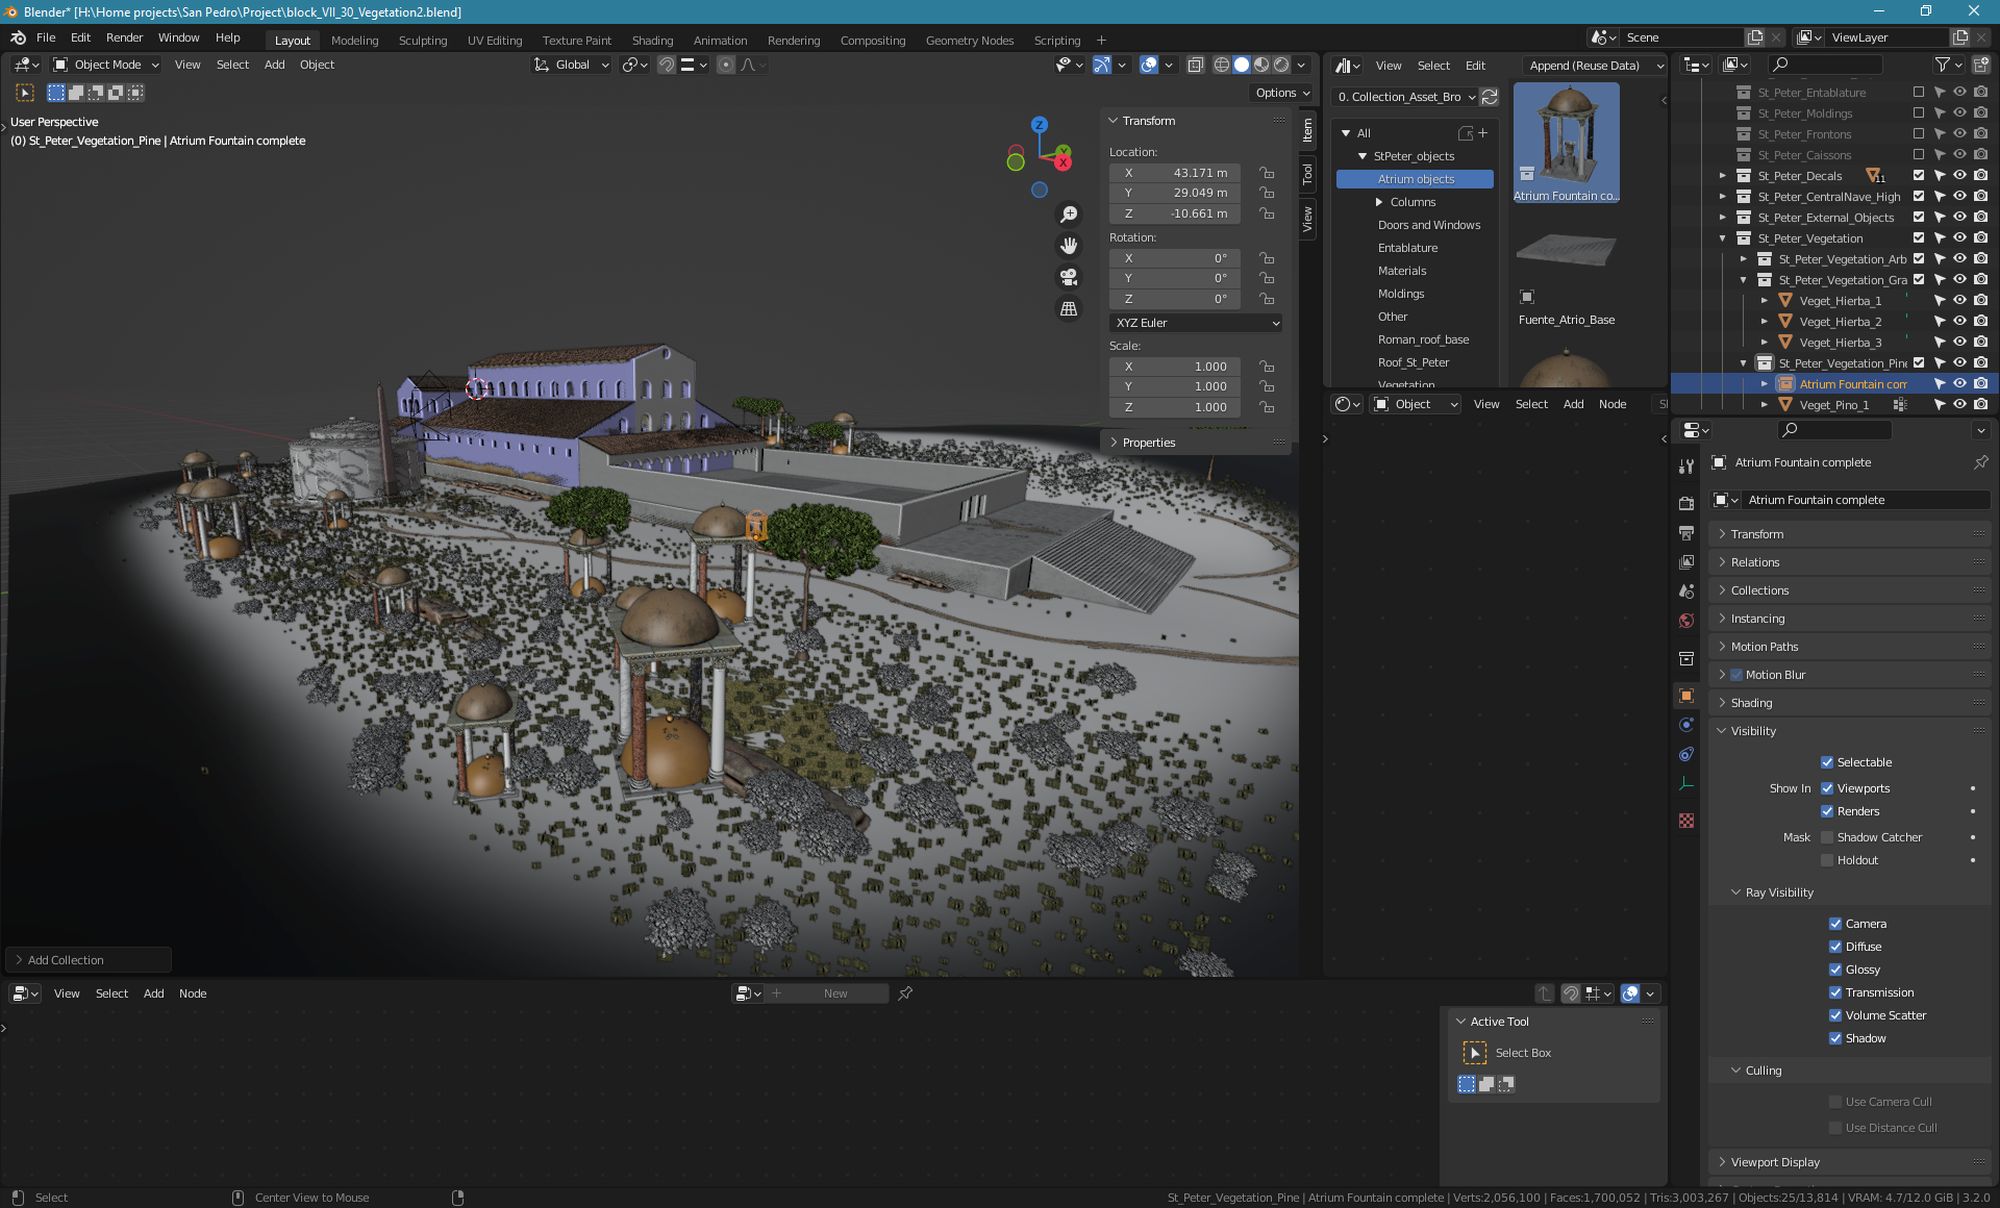
- building a tool for generating vegetation (and any other type of objects) distributions based on painted weight maps on the landscape surface using Geometry Nodes
- and, perhaps the part that attracted me the most to this course, designing different type of sections in the 3D model.
- and many many other tips and tricks.
Final impressions
Long story short, it was well worth it. Both the time and resources invested, which were something. As I wrote above, it was not quite easy even I am no beginner in Blender.
I really appreciated Pablo’s approach as he started with the basic theory behind the virtual reconstructions, even by quoting the Sevilla Principles. He detailed the basic and the optimal approaches to this process and most importantly for us those who are not working professionally in this field (yet 🙂 ), the way to plan and manage such a project.
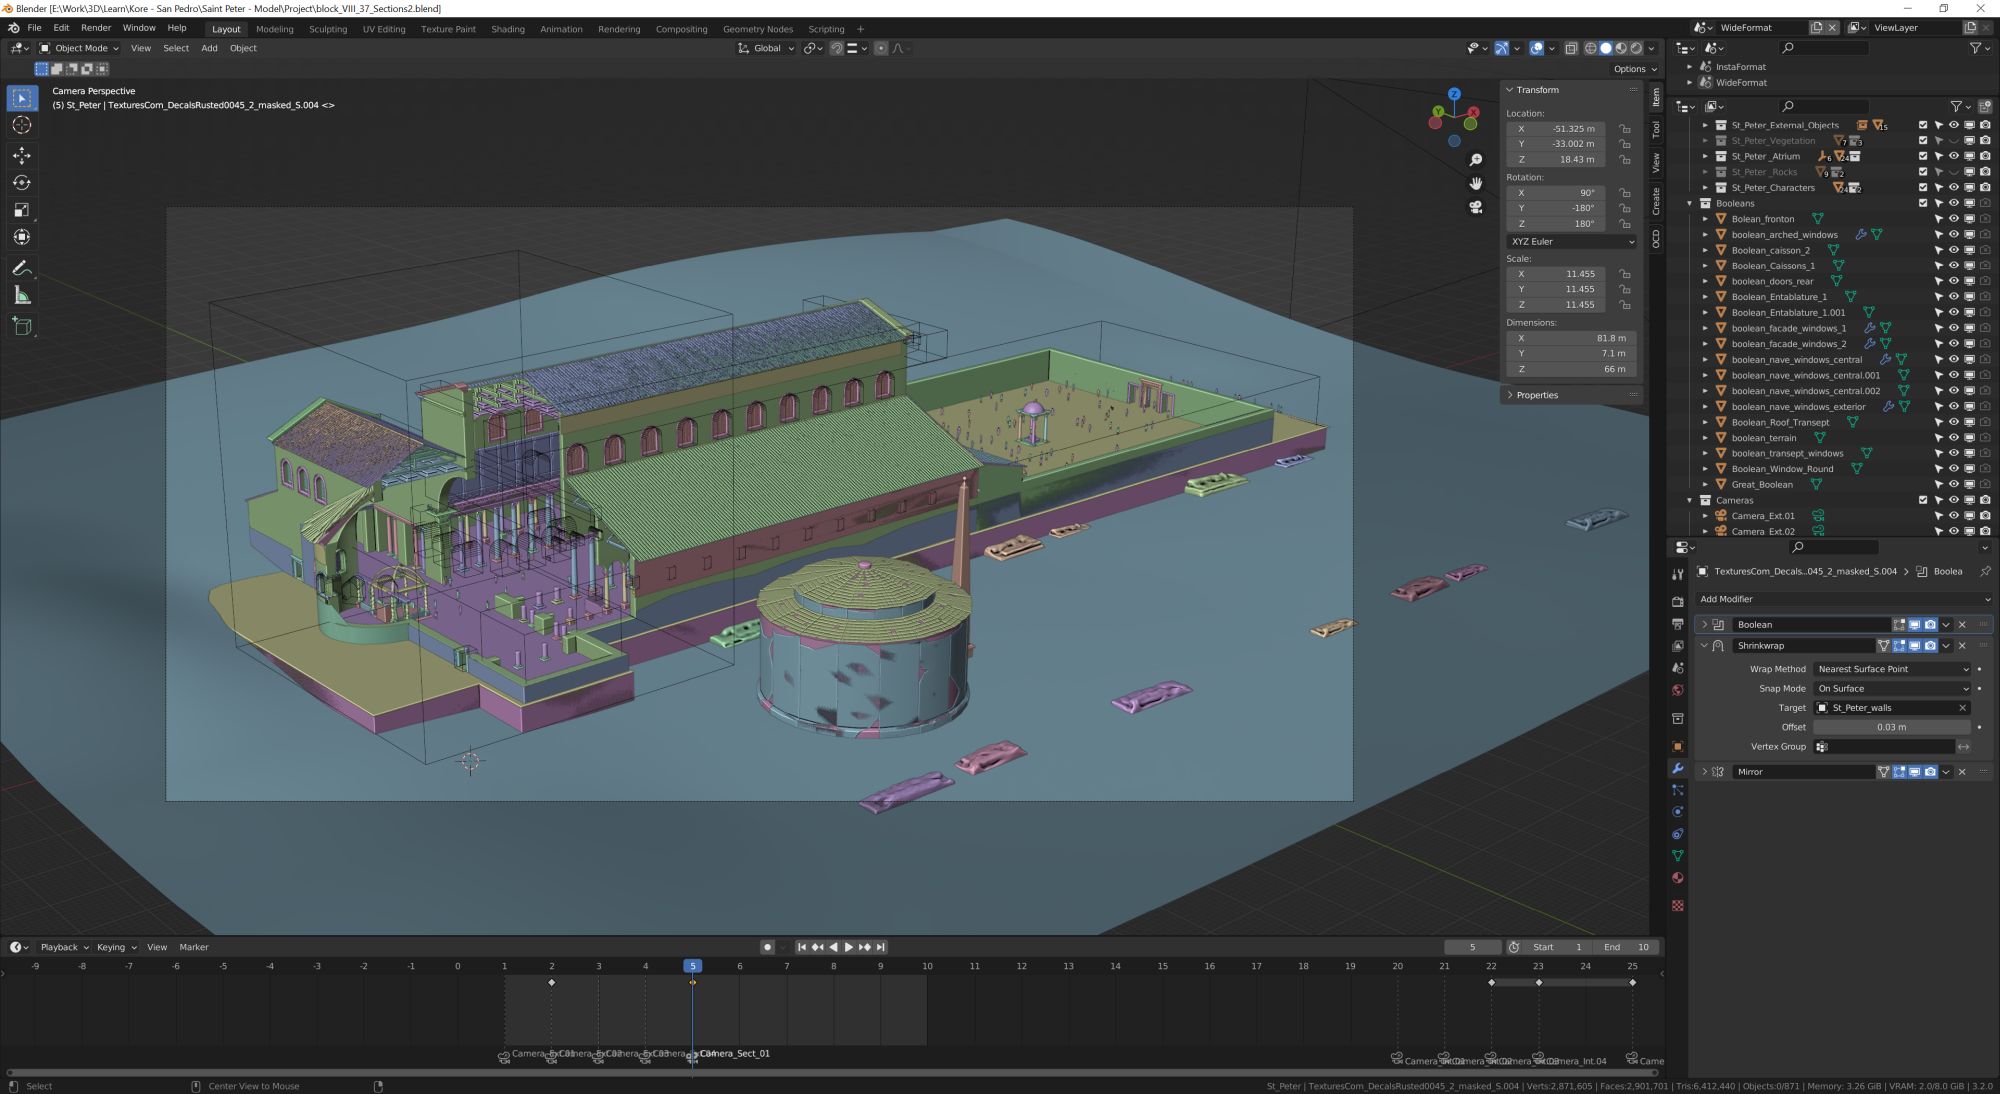
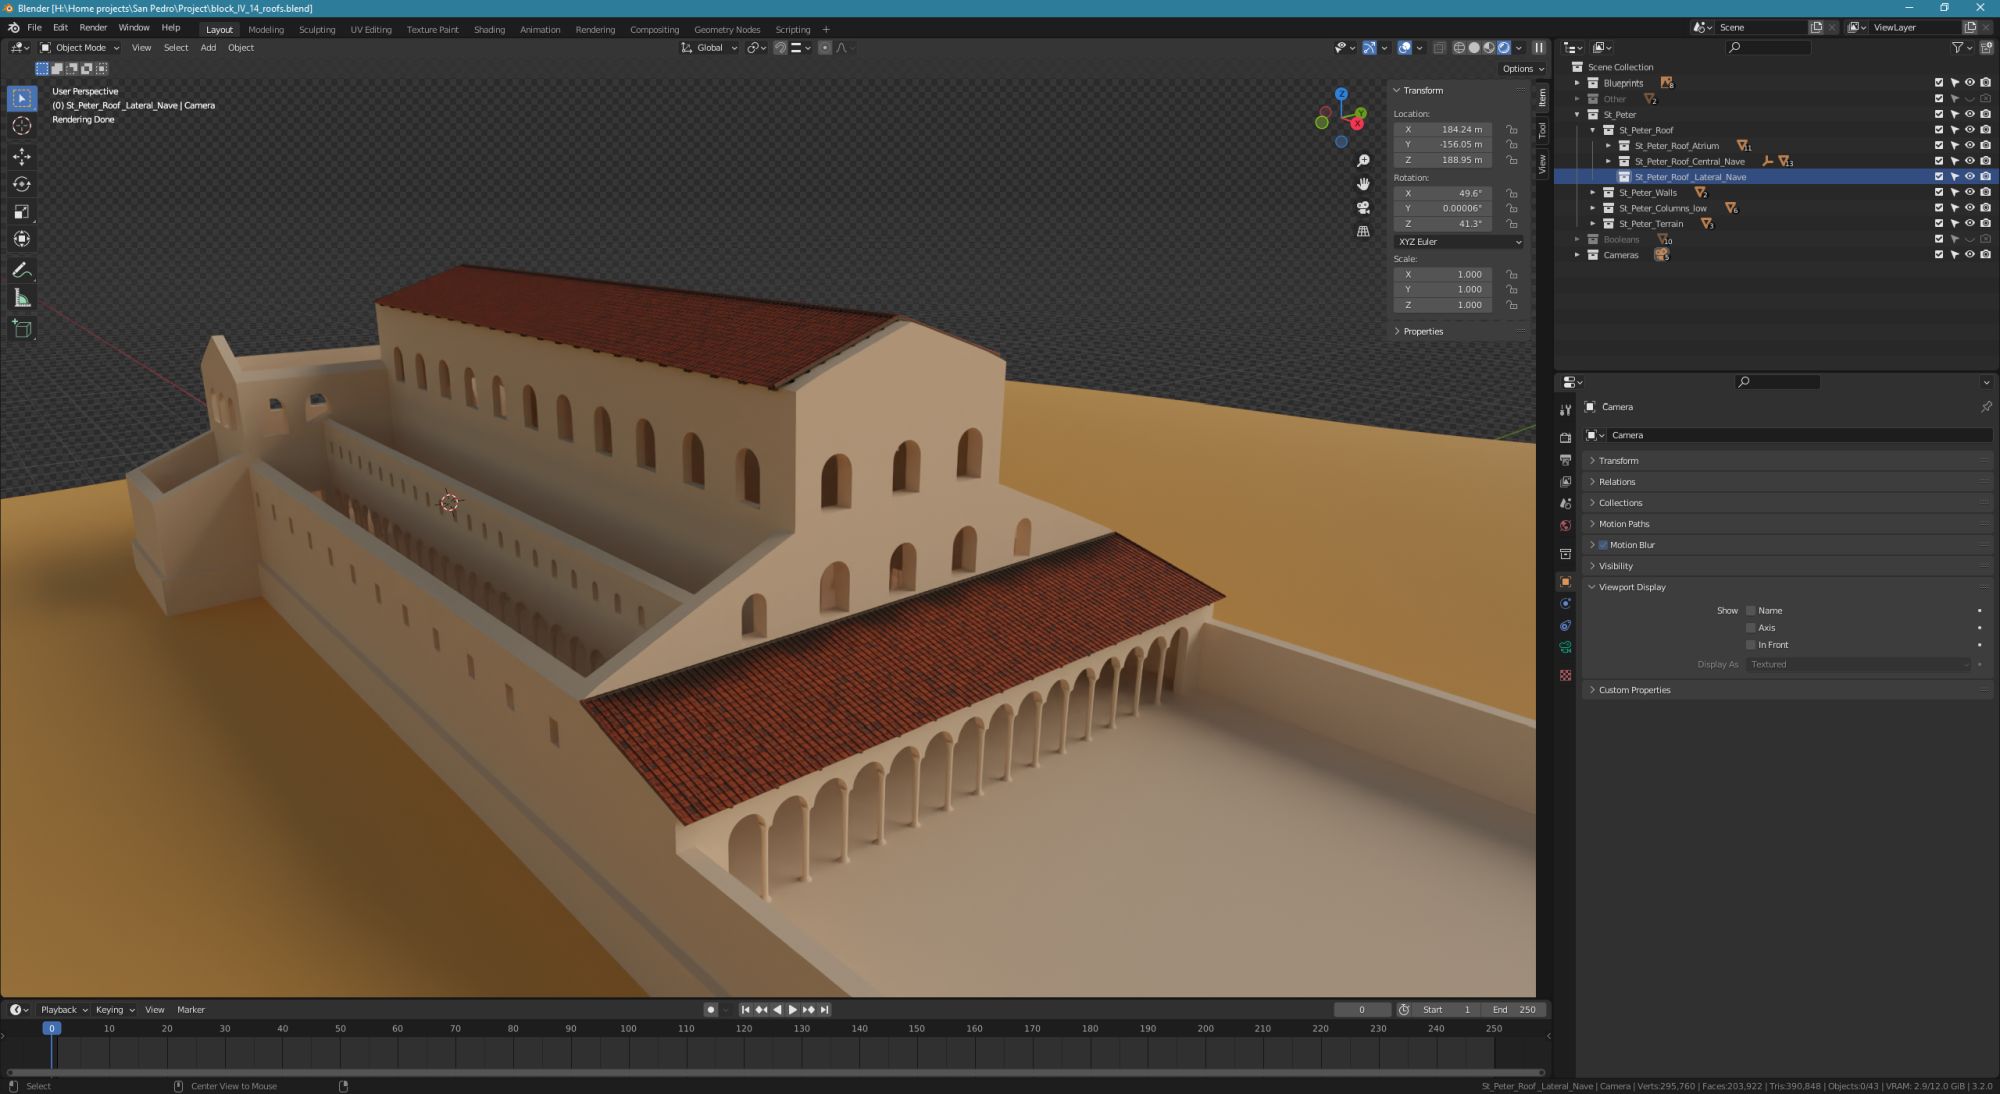
The practical project for this course was the Constantinian Basilica of Saint Peter in the Vatican, as it was build at the middle of the 4th century A.D. Pablo carried us throughout his all documentation steps that applies for any type of virtual reconstruction project. He presented the history of the monument with a lot of details (the today’s St Peter Basilica was built in the 16th century) and all the documents from which he could extract different details for this project. In the end of this introductory part were present almost 19 reconstruction hypothesis that came before his own.
There are a lot of details and effort invested that would require tons of renders and infographics. For example, all the roofs are made of individual terracotta tiles, and are built with all their real structure: wood structure, metal holders, wooden planks and finally the tiles. Another detail is the mosaic throughout the basilica interior, they all have mosaic normal maps so they look like real mosaic upon close inspection. The opus sectile is just a piece of wonder to marvel upon. Yeah, I’m quite impressed with the level of detail we went through with the virtual reconstruction.
The final result was a wonderful reward in itself.
As for myself, I realized the many mistakes I did with Kula Project development and why it had so many road blocks. I learned a lot during this course and I think it came at the best time possible for me.
The community
Before jumping into the gallery, a few words must be said about the community. As with every course, a critical part is the networking and the community build during the lectures. Although the course was pre-recorded, there were several 2 hour live sessions for questions and discussions. Also in Spanish :). At the moment of writing this post there are still two more live sessions to go in the next weeks. Another important tool for the networking and community is the Forum. Where everybody asks questions and Pablo actually patiently answers ALL of them. Some of the colleagues met during this course have connected with me on different social media, which is great.
Virtual reconstruction gallery
Below is an image gallery with a selection of my final renders. At the moment of writing I am still trying some tricks with a different render engine (Malt) and volumetric lights. As soon as I get the desired results I will post them here. Be sure to scroll down to the 360 panorama and the BTS gallery!
360 Panorama of the interior
If you know me, I’m not a fan of this type of presentations. But with this course I learned how to do them so I guess It will come in handy. Until I manage to further optimize the model (although it is really optimized) I will attempt a WebGL presentation of the model, more fit for my liking :). Until then enjoy the panorama of the virtual reconstruction! You can rotate and zoom and pan right here in this window. If you have VR glasses follow the instructions in the frame.
BTS and WIP gallery
Usually this is my favorite part when I look at other artists. I love watching other’s processes and the evolution of the works.
So if you’re like me, enjoy my Behind the scenes and Work in progress captures below!
Most of the images are screen captures or photos of the display at different moments of the project development, partly for progress documentation but mostly because I just loved what came out my hands at that moment.
Click the images to enlarge them.
Wow, you really scrolled down here! Well, cheers, mate! I really appreciate you took the time to check out this review. Thank you!
2 comments
[…] virtual reconstruction of Heritage (2022 edition) back in the summer of 2022, about which I wrote here. After the first hours of the course, I had an epiphany, where everything suddenly seemed perfectly […]
[…] been more than an year since I started my first course with Kore Formacion. It was the virtual reconstruction of St Peter basilica, as it was when it was built. I wrote back then what influence that course had on my future […]